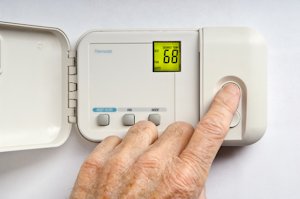
Programmable thermostats are a low maintenance part of any HVAC system, but if yours is battery-powered, you will occasionally have to change the batteries. Most units feature a low battery symbol or light that will give you a heads up. It’s also a good idea to change the batteries if the screen goes blank before replacing the unit.
The exact procedure to change the batteries in your unit might be a little different than another model, but most programmable thermostats are similar. Most will take AA or AAA batteries, so have some on hand before you begin.
Here’s how to replace the batteries in a thermostat:
- Remove the unit. Take the main thermostat unit off the wall mount by either pulling it off or sliding it up and off.
- Remove the batteries in the back. Most thermostats store the batteries on the back of the thermostat. Turn it over and look for the battery slot. If you’re having trouble removing them, try gently using a small flat screwdriver.
- Replace the batteries. Before you take out the old ones, look at how they’re positioned. If you forgot, there should be markings on the slot to indicate which side of the batteries goes where.
- Put it back on. Now that the thermostat has fresh batteries, slide or clip it back into the wall housing and see if you have power.
If you want to make sure you never have any preventable thermostat outages, set a time once a year to replace your batteries. For more on how to replace the batteries in a thermostat in your Warner Robins home, or for professional help with other home comfort issues, contact Pruett Air Conditioning.
Image Provided by Shutterstock.com

